MobiosPush - Nagios client for iOS devices: Configuration and usage guide
Android users have already been provided with step-by-step instructions on how to install aNag, an…
Read More#1 Software for Data Storage, Backup & Business Continuity
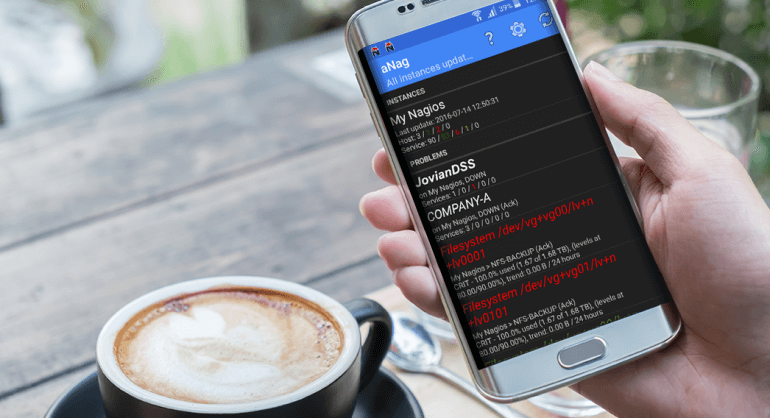
Some time ago we published an article about tools that enable monitoring your Open-E JovianDSS with Nagios from a mobile device. Applications for Nagios allow you to control your system status wherever you are and are at the same time very easy in everyday use. In this article we would like to present step-by-step guidelines on how to install aNag, an Android application for Nagios. See how you can establish a connection to the Nagios system and receive status information with a basic usage of the application, like refreshing service statuses, browsing and managing notifications, and how to configure some advanced settings to better suit your personal needs.
Before you start, you should have your Nagios system configured and running. The system should be accessible through the device you want to use to connect.
For more information visit the official Nagios documentation.
1. Go to GooglePlay and search for the “aNag” application by Damien Degois (Tip: You can also proceed with a remote installation on your device by visiting the GooglePlay Shop.).
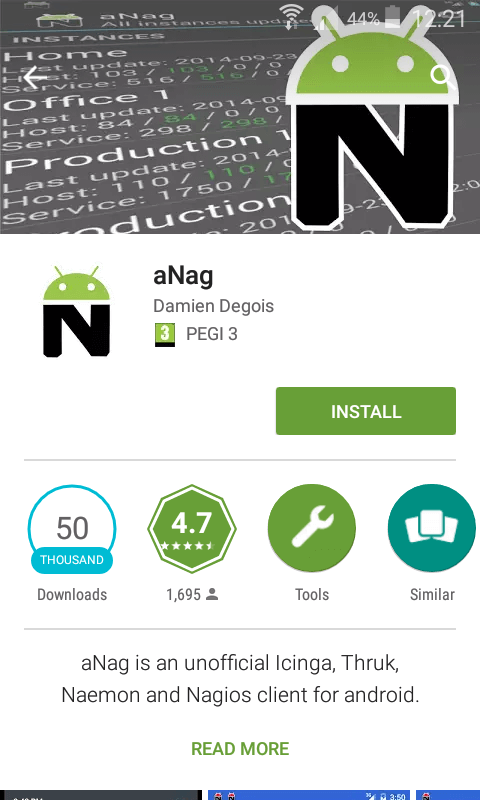
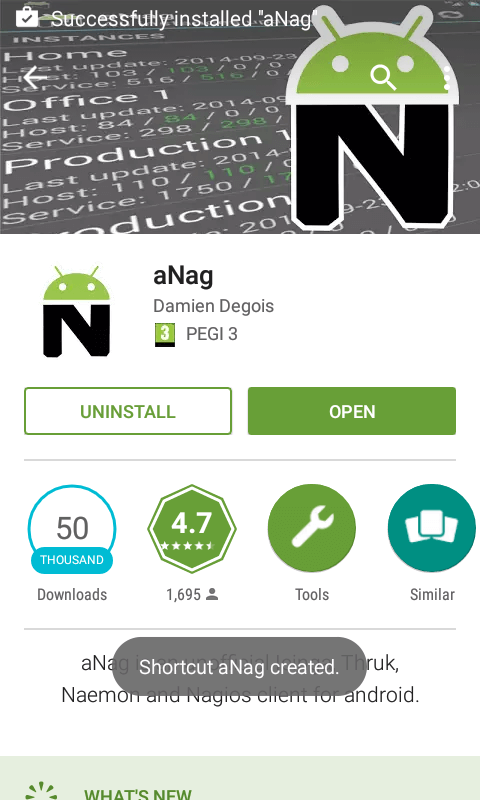
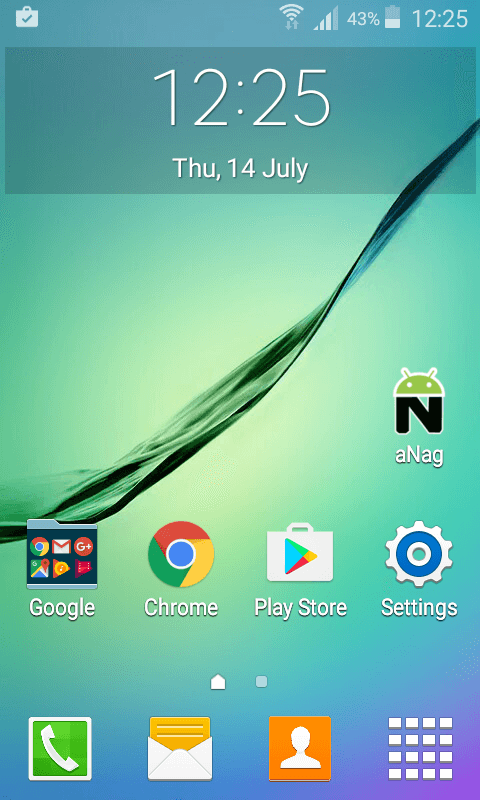
2. Click “INSTALL” to install the application. Next, click “ACCEPT“. After the application is installed on your smartphone, click “OPEN” to start working with it. If the installation process is ended successfully, a proper icon will also appear on your Android desktop.
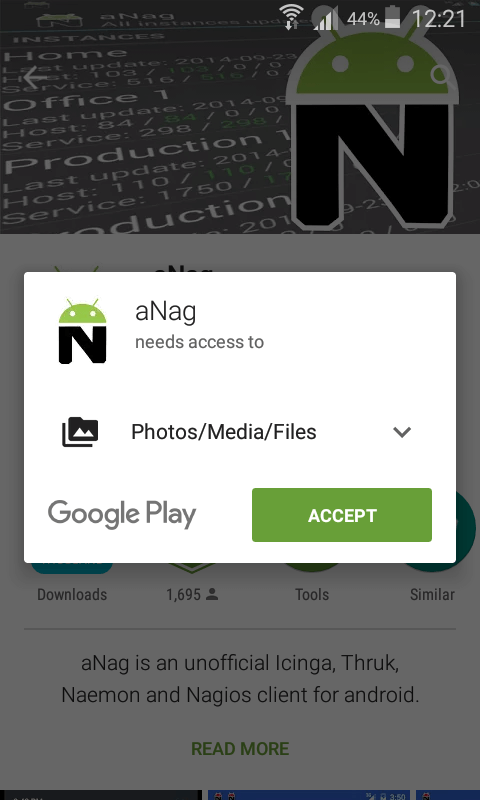
Note: The only data that are required are the Nagios Cgi URL, a username and a password. The application has default settings and starts working immediately after logging in. The HTTPS protocol provides a secure connection, and the aNag application is only receiving the Nagios status information.
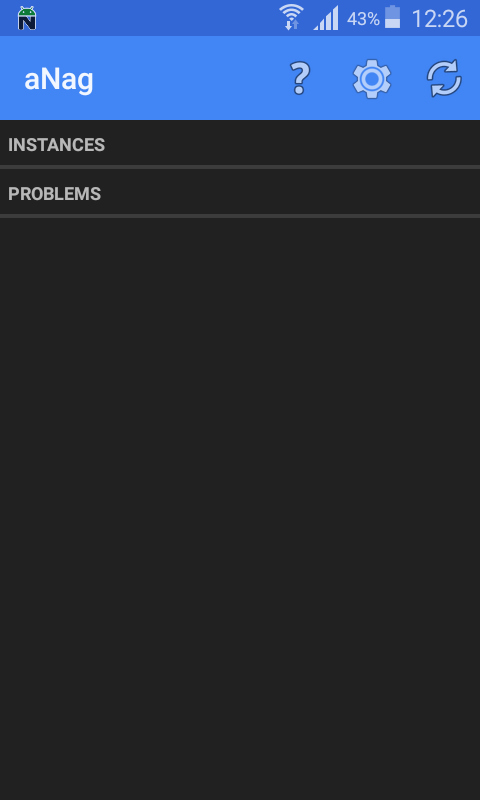
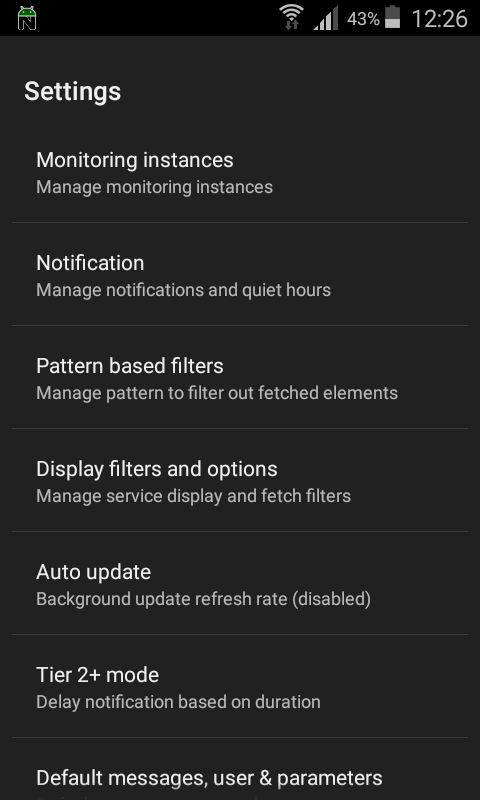
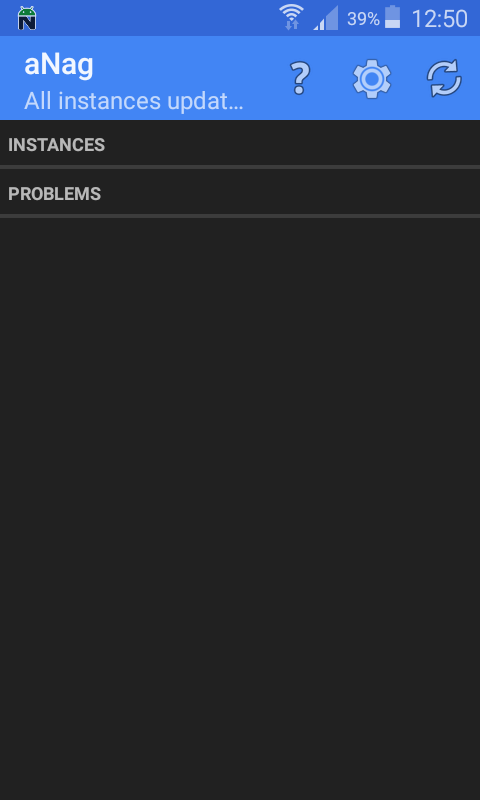
1. The application’s main screen shows the most important information: your Nagios instances and their status. To add an instance, click the SETTINGS icon in the main menu, represented by a COG icon. In the SETTINGS window, select the first option – “Monitoring instances”.
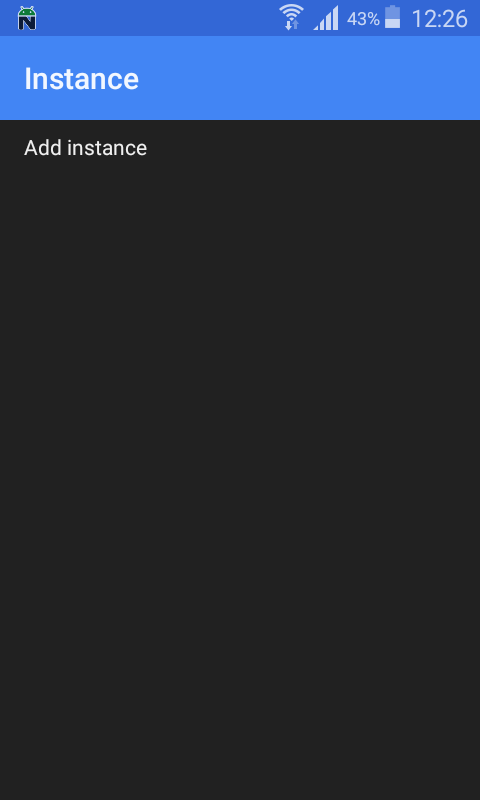
2. Now you can select the “Add instance” option and type in your instance data.
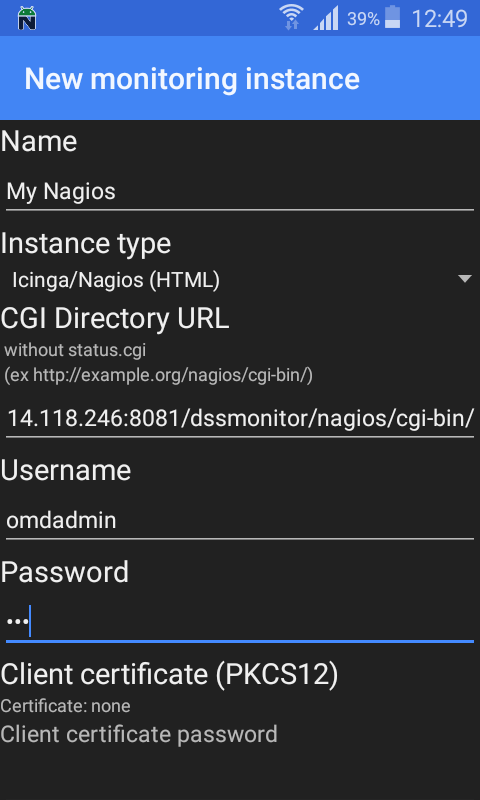
Name – select a custom name for better system recognition
Cgi-bin directory – a URL directing to your Nagios CGI folder (usually named (usually named “‘http://yoursever.com/path-to-nagios/cgi-bin/”))
Username – admin login
Password – admin password
Fill other optional settings if required.
Note: Remember to finish the URL address with a slash “/” sign, because the URL should direct to the cgi-binfolder (usually named “‘cgi-bin”), not a single file.
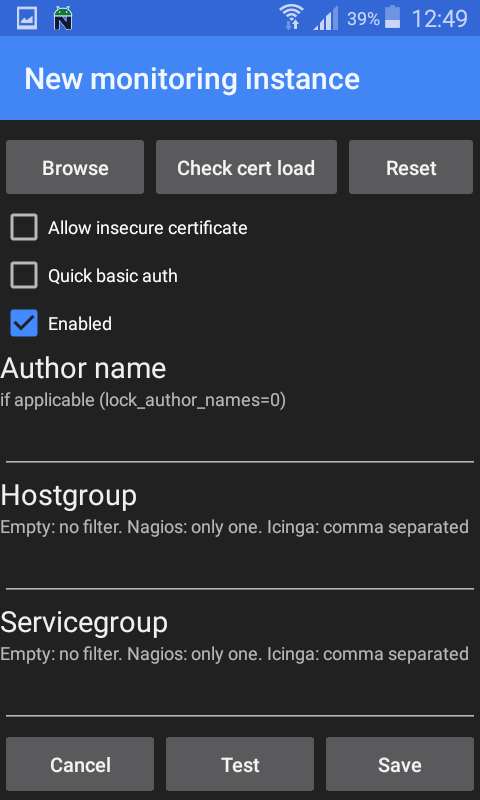
3. Now, scroll down until three grey buttons are available. Click the “Test” button to test your instance.
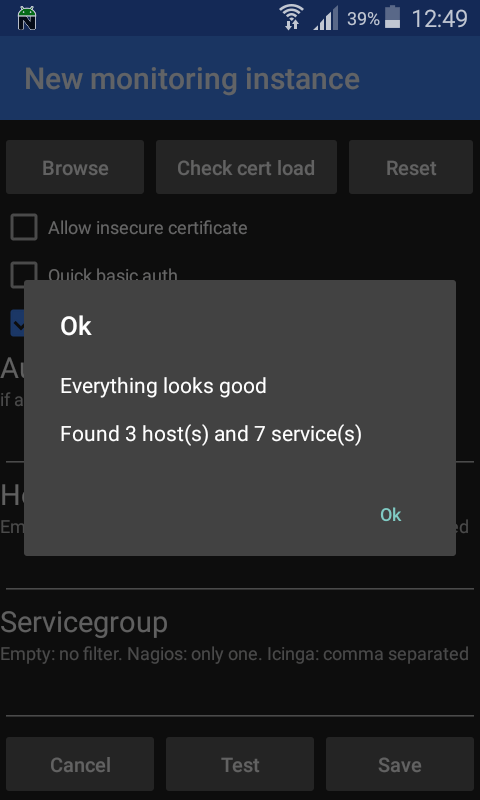
The system will confirm a successful connection with your Nagios system. Click “Ok” to close the confirmation dialogue, and then “Save” to save your new instance. The newly added instance will be visible on the “Instances monitoring” screen.
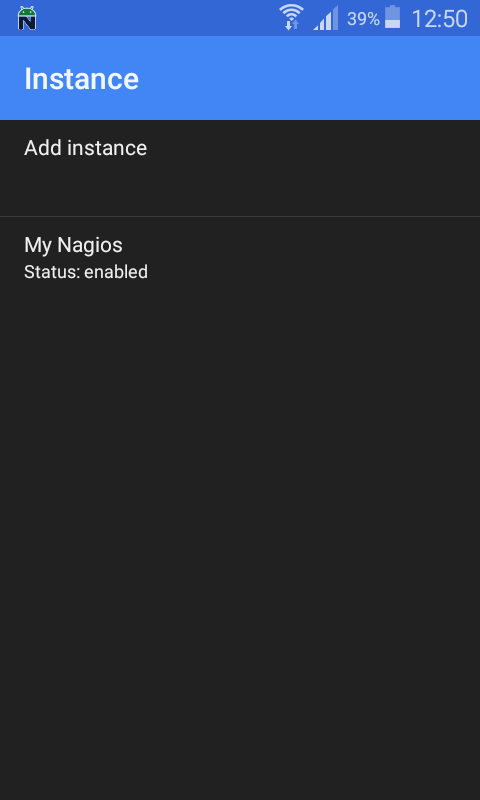
Tip: You can tap and hold your finger on the selected instance name to change its status from “Enabled” to “Disabled”.
4. Click the “Back” button on the Android menu to go back to the application’s main screen. Now click the “Refresh” button to refresh the list of instances.
Tip: You can also refresh the instances list by swiping down the list.
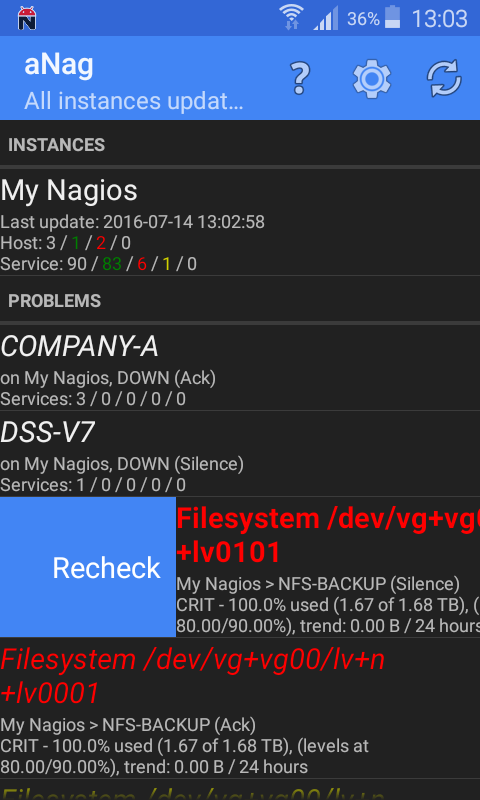
5. Your aNag application will get fresh information from your Nagios system with the list of instances and your monitored systems status.
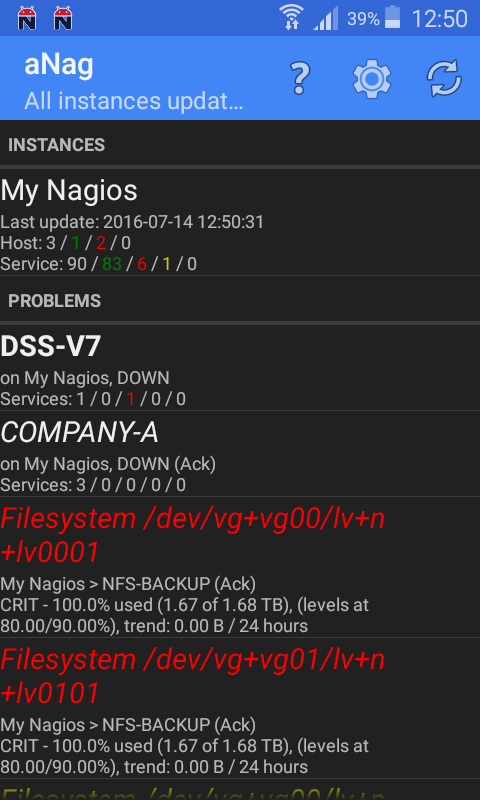
1. If you want to refresh the instances, please click the “Refresh” button (you can also refresh the instances list by swiping down the list).

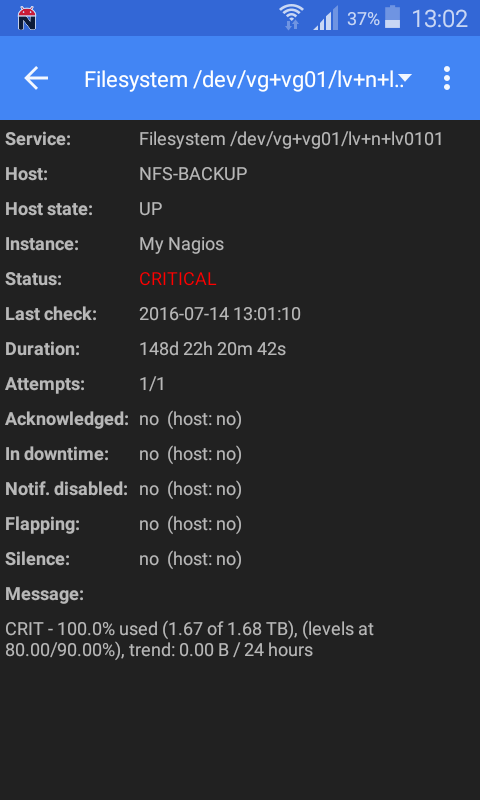
2. Click a desired notification to check its details.
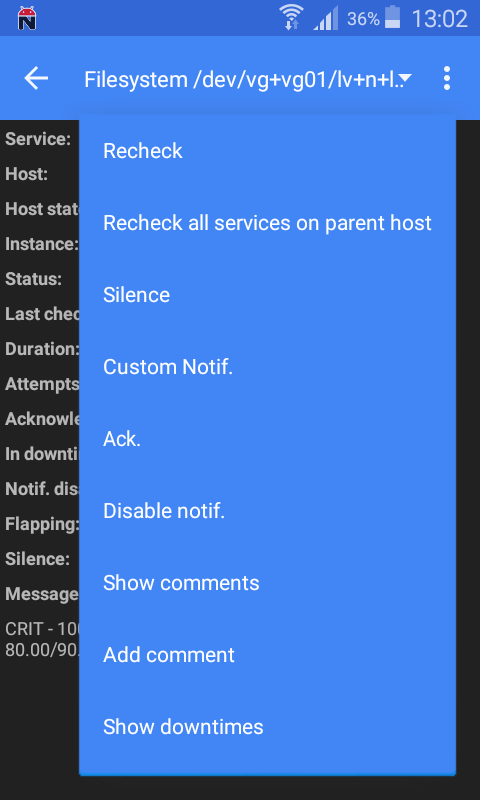
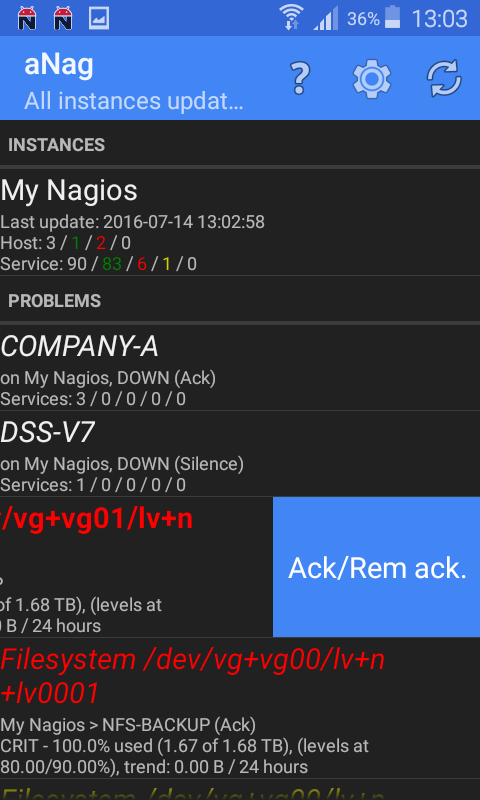
3. For a list of available options for the selected notification click the “MENU” icon on the top right. You can also “re-check” only a single notification by swiping its row to the right.
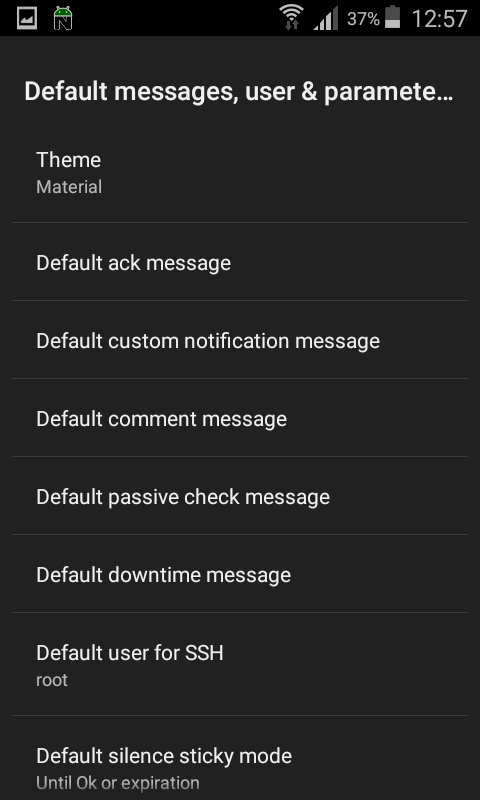
Tip: You can change this default swipe action in the “Default messages, user & parameters” options window.
4. Swipe left to turn off any further notifications of this particular problem.
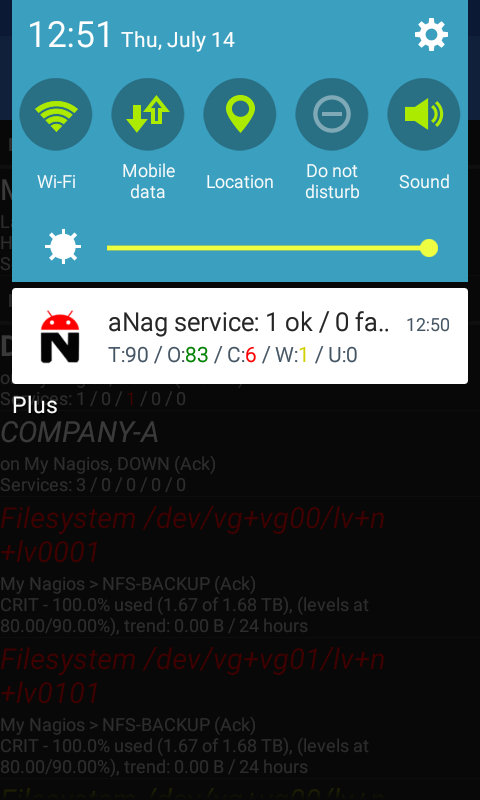
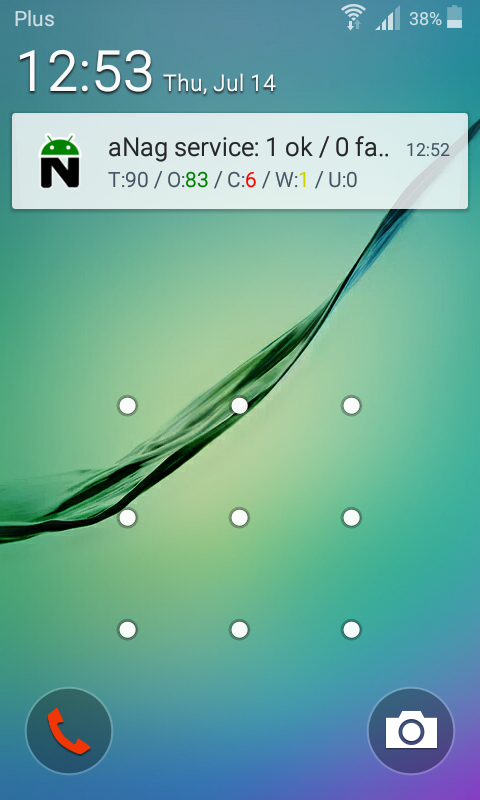
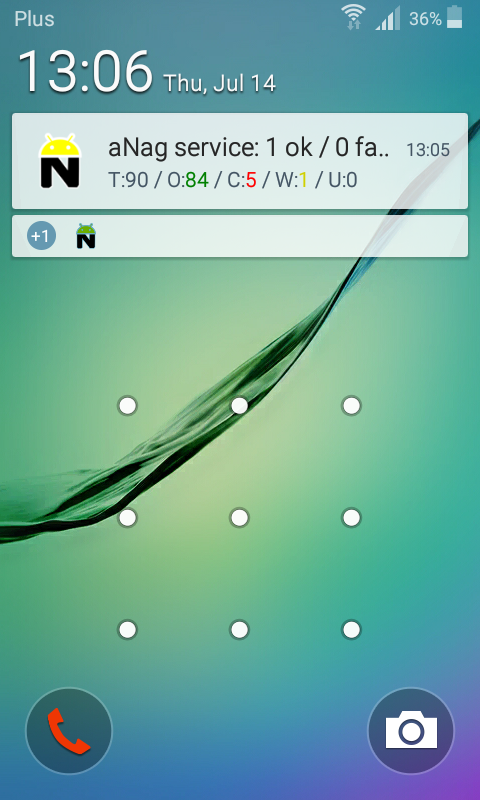
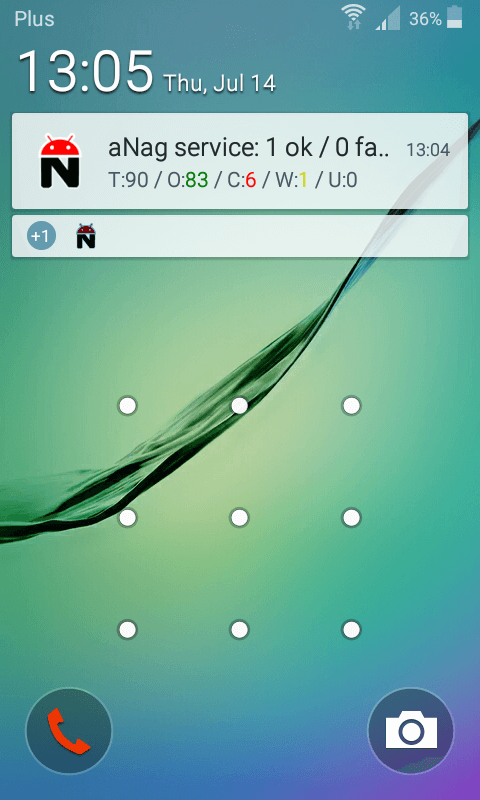
5. All notification messages will appear on the system’s notification screen. Notifications will also appear on the lock screen.
Note: The application icon changes its appearance depending on the services status. The Android robot’s head may be green, orange, yellow or red. Also the letter “N” in the icon changes its color depending on the aNag application status. Read more about statuses in the aNag DOC & FAQ.
1. On the main screen click the “SETTINGS” icon. All available options are listed here with a short tip about its content, and optionally the status.

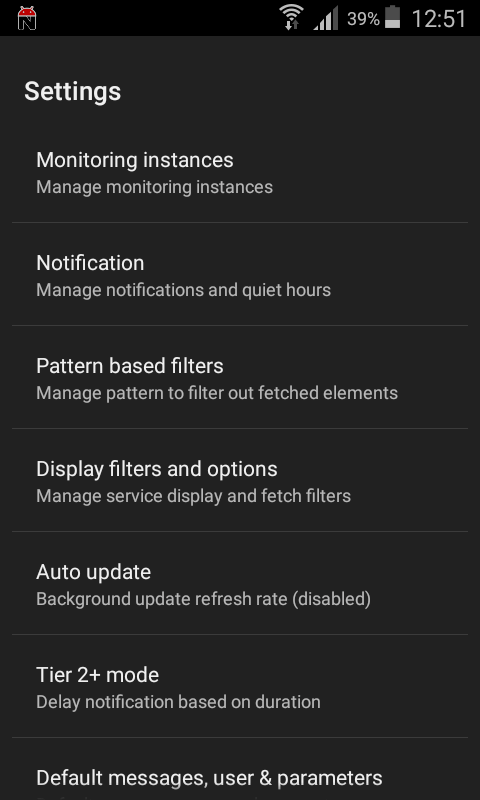
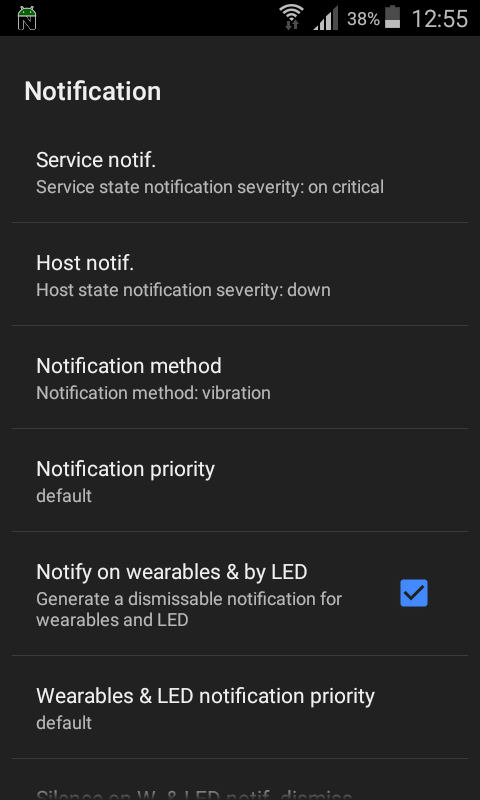
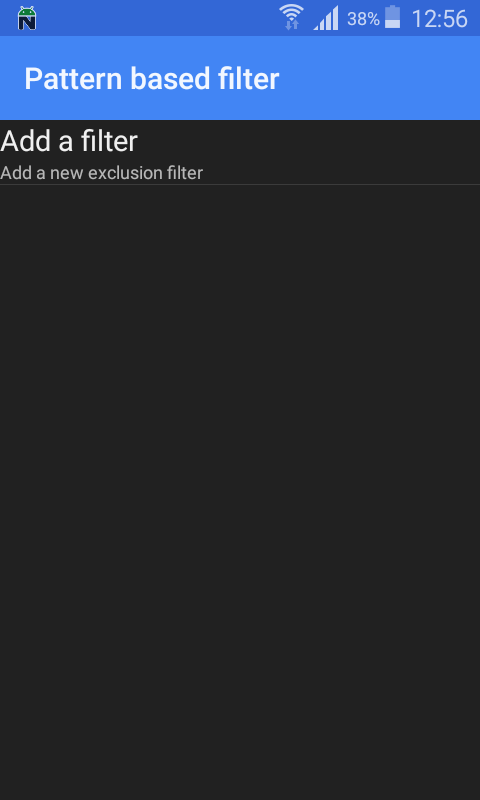
2. “Notification” allows to customize all notifications settings, like priority, quiet hours or even wearable devices. “Pattern based filters” allows to set custom filters for notifications.
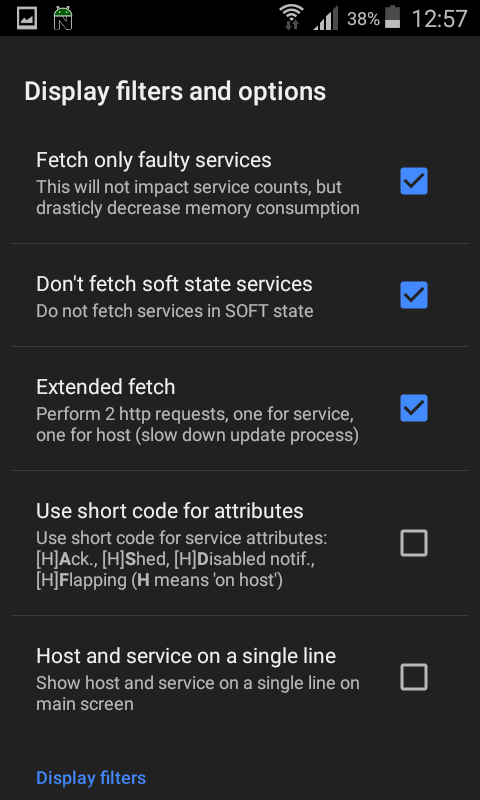
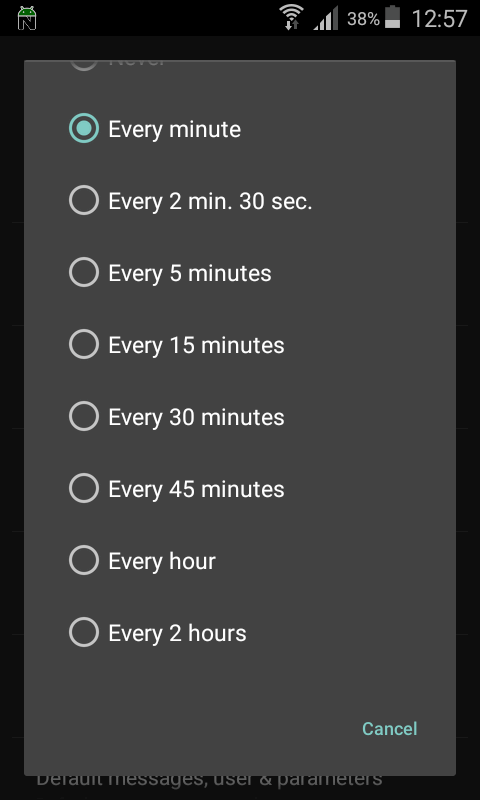
3. “Display filters and options” allows to set custom filters for showing services statuses on the application’s main screen. “Auto update” allows to set the background update refresh rate.
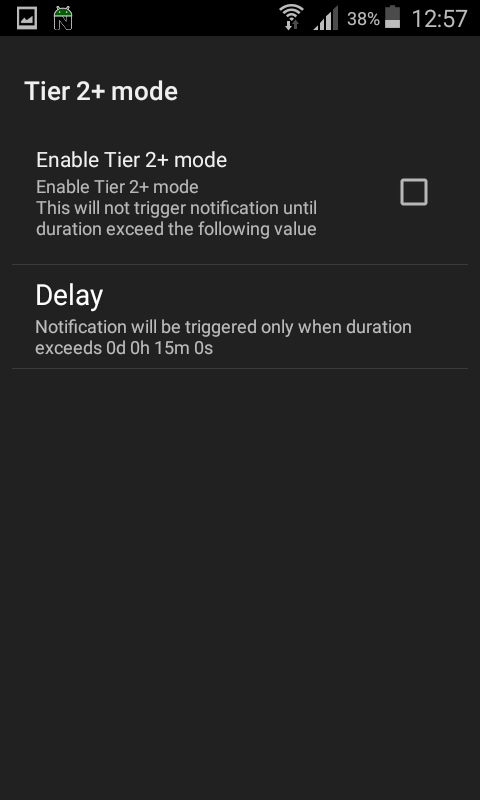
4. “Tier 2+ mode” allows to trigger notifications after a desired duration time.
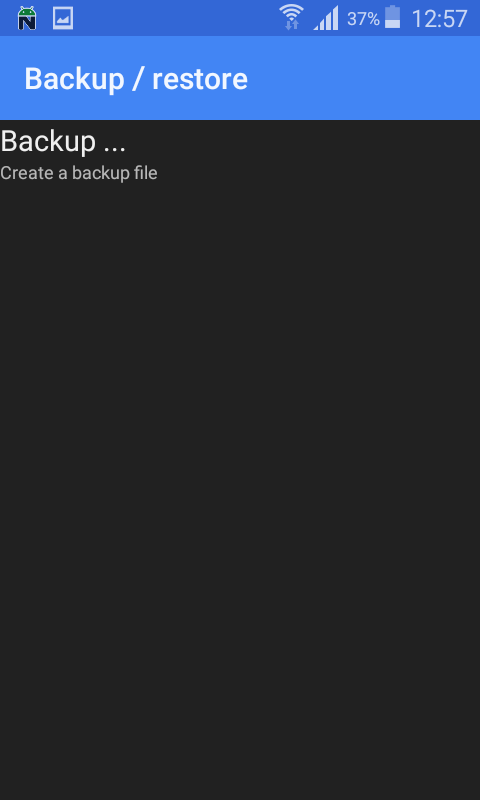
5. “Default messages, user & parameters” allows to set some default settings for the application. “Backup/restore” allows to create a backup or restore all application settings on/from an external storage.
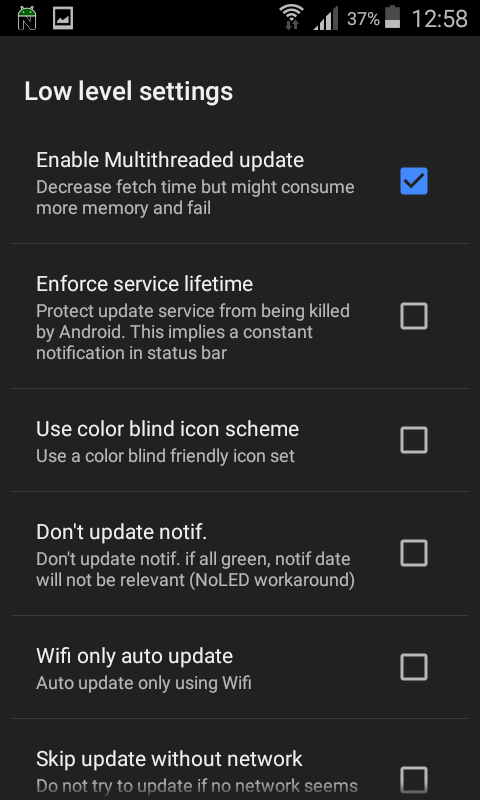
6. “Low level settings” allow to set some low level/advanced settings of the application.
You can also read the article “Monitoring Open-E DSS V7 and Open-E JovianDSS with Check_MK” which contains a useful mini-dictionary of the most important terms, plenty of screenshots and a video showing how to monitor your Open-E software with Check_MK, an extension to Nagios which enables creating a rule-based configuration with Python.

 Manufacturing Data Storage Challenges & Open-E Solutions
 CeBIT 2014: Datability with Open-E storage management software
 RAID 2, RAID 3, RAID 4 – What It Is, How It Works? The History Lesson
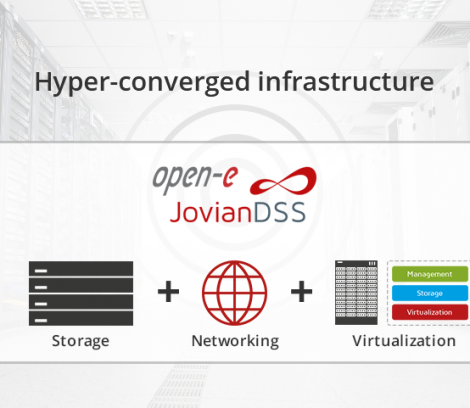 Strategies for choosing the best hyper-converged platform
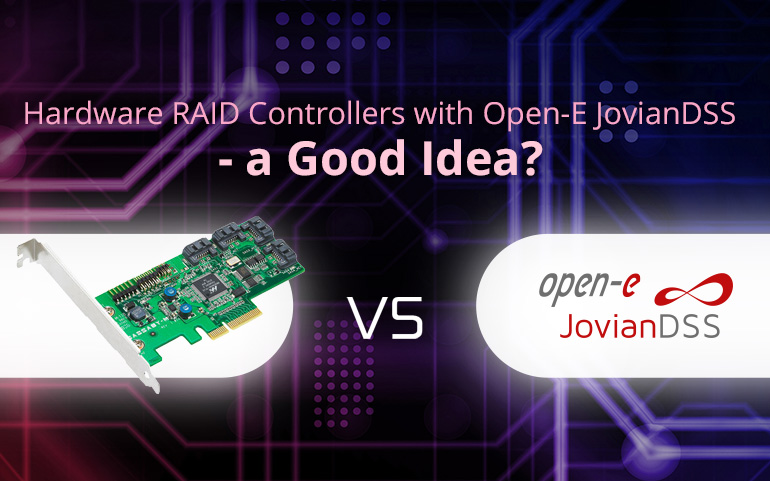 Is it worth using hardware RAID controllers with a ZFS-based Open-E JovianDSS?
 To Deduplicate or Not to Deduplicate ?
Leave a Reply